Smartphone Macro Lens from broken DVD

Thursday 27 February 2014 at 6:54 pm

This is not my original idea, but one I stumbled upon on the internet.  Someone posted a hack (this one) so I thought I'd have a go myself.

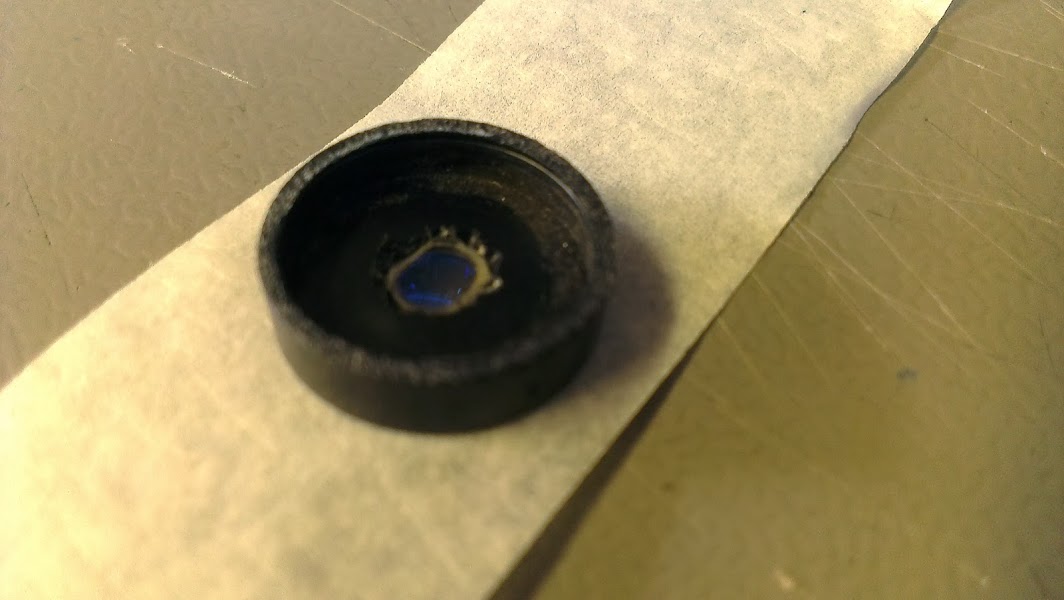
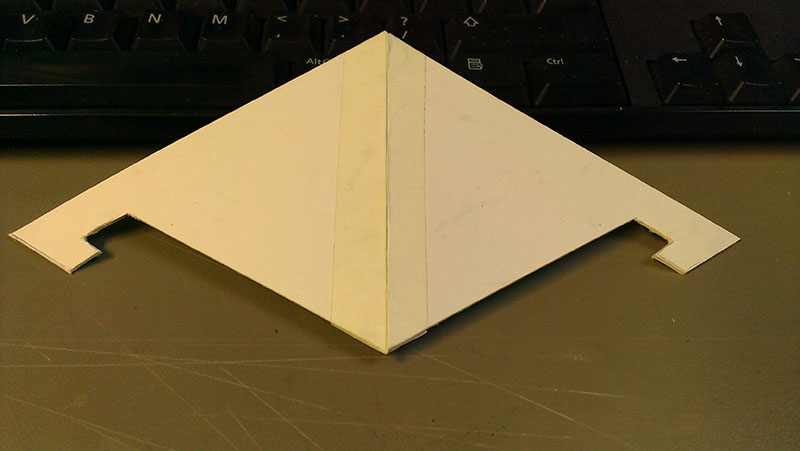
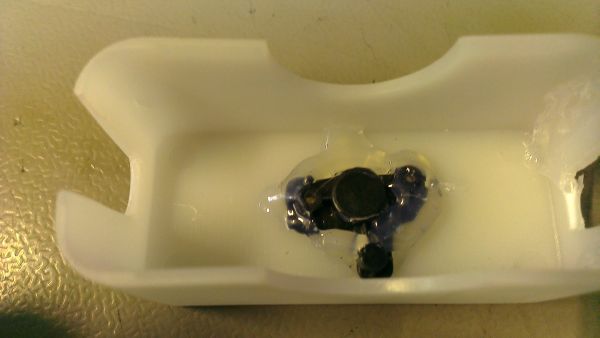
I don't have any pictures of the DVD teardown, but it was a Dell laptop unit.  I just used a small screwdriver to remove all the screws.  When you get to the lens unit there were 2 lenses - the one you see with the drawer open, plus another buried amongst a series of prisms.  I'd imagine they're all broadly similar, but your results may vary.  Anyway it was the second hidden lens I used (although more on the other one later).

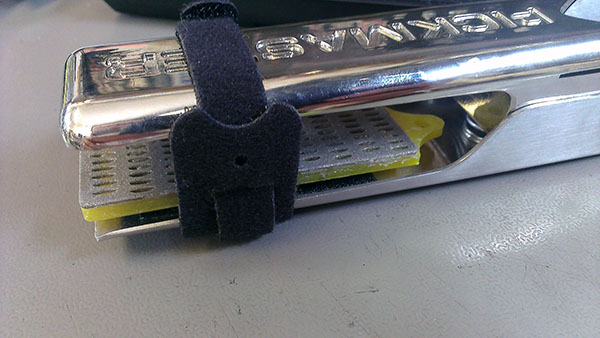
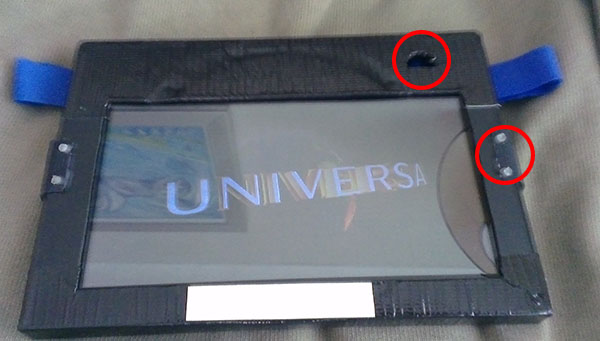
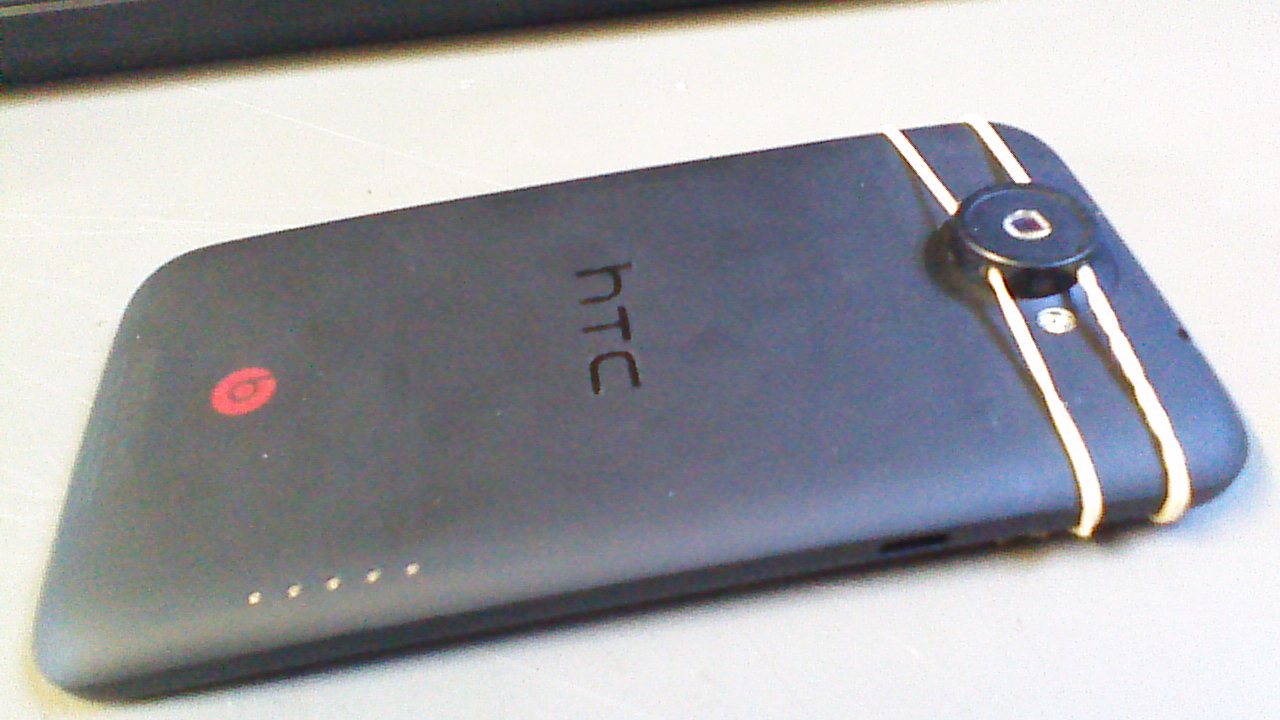
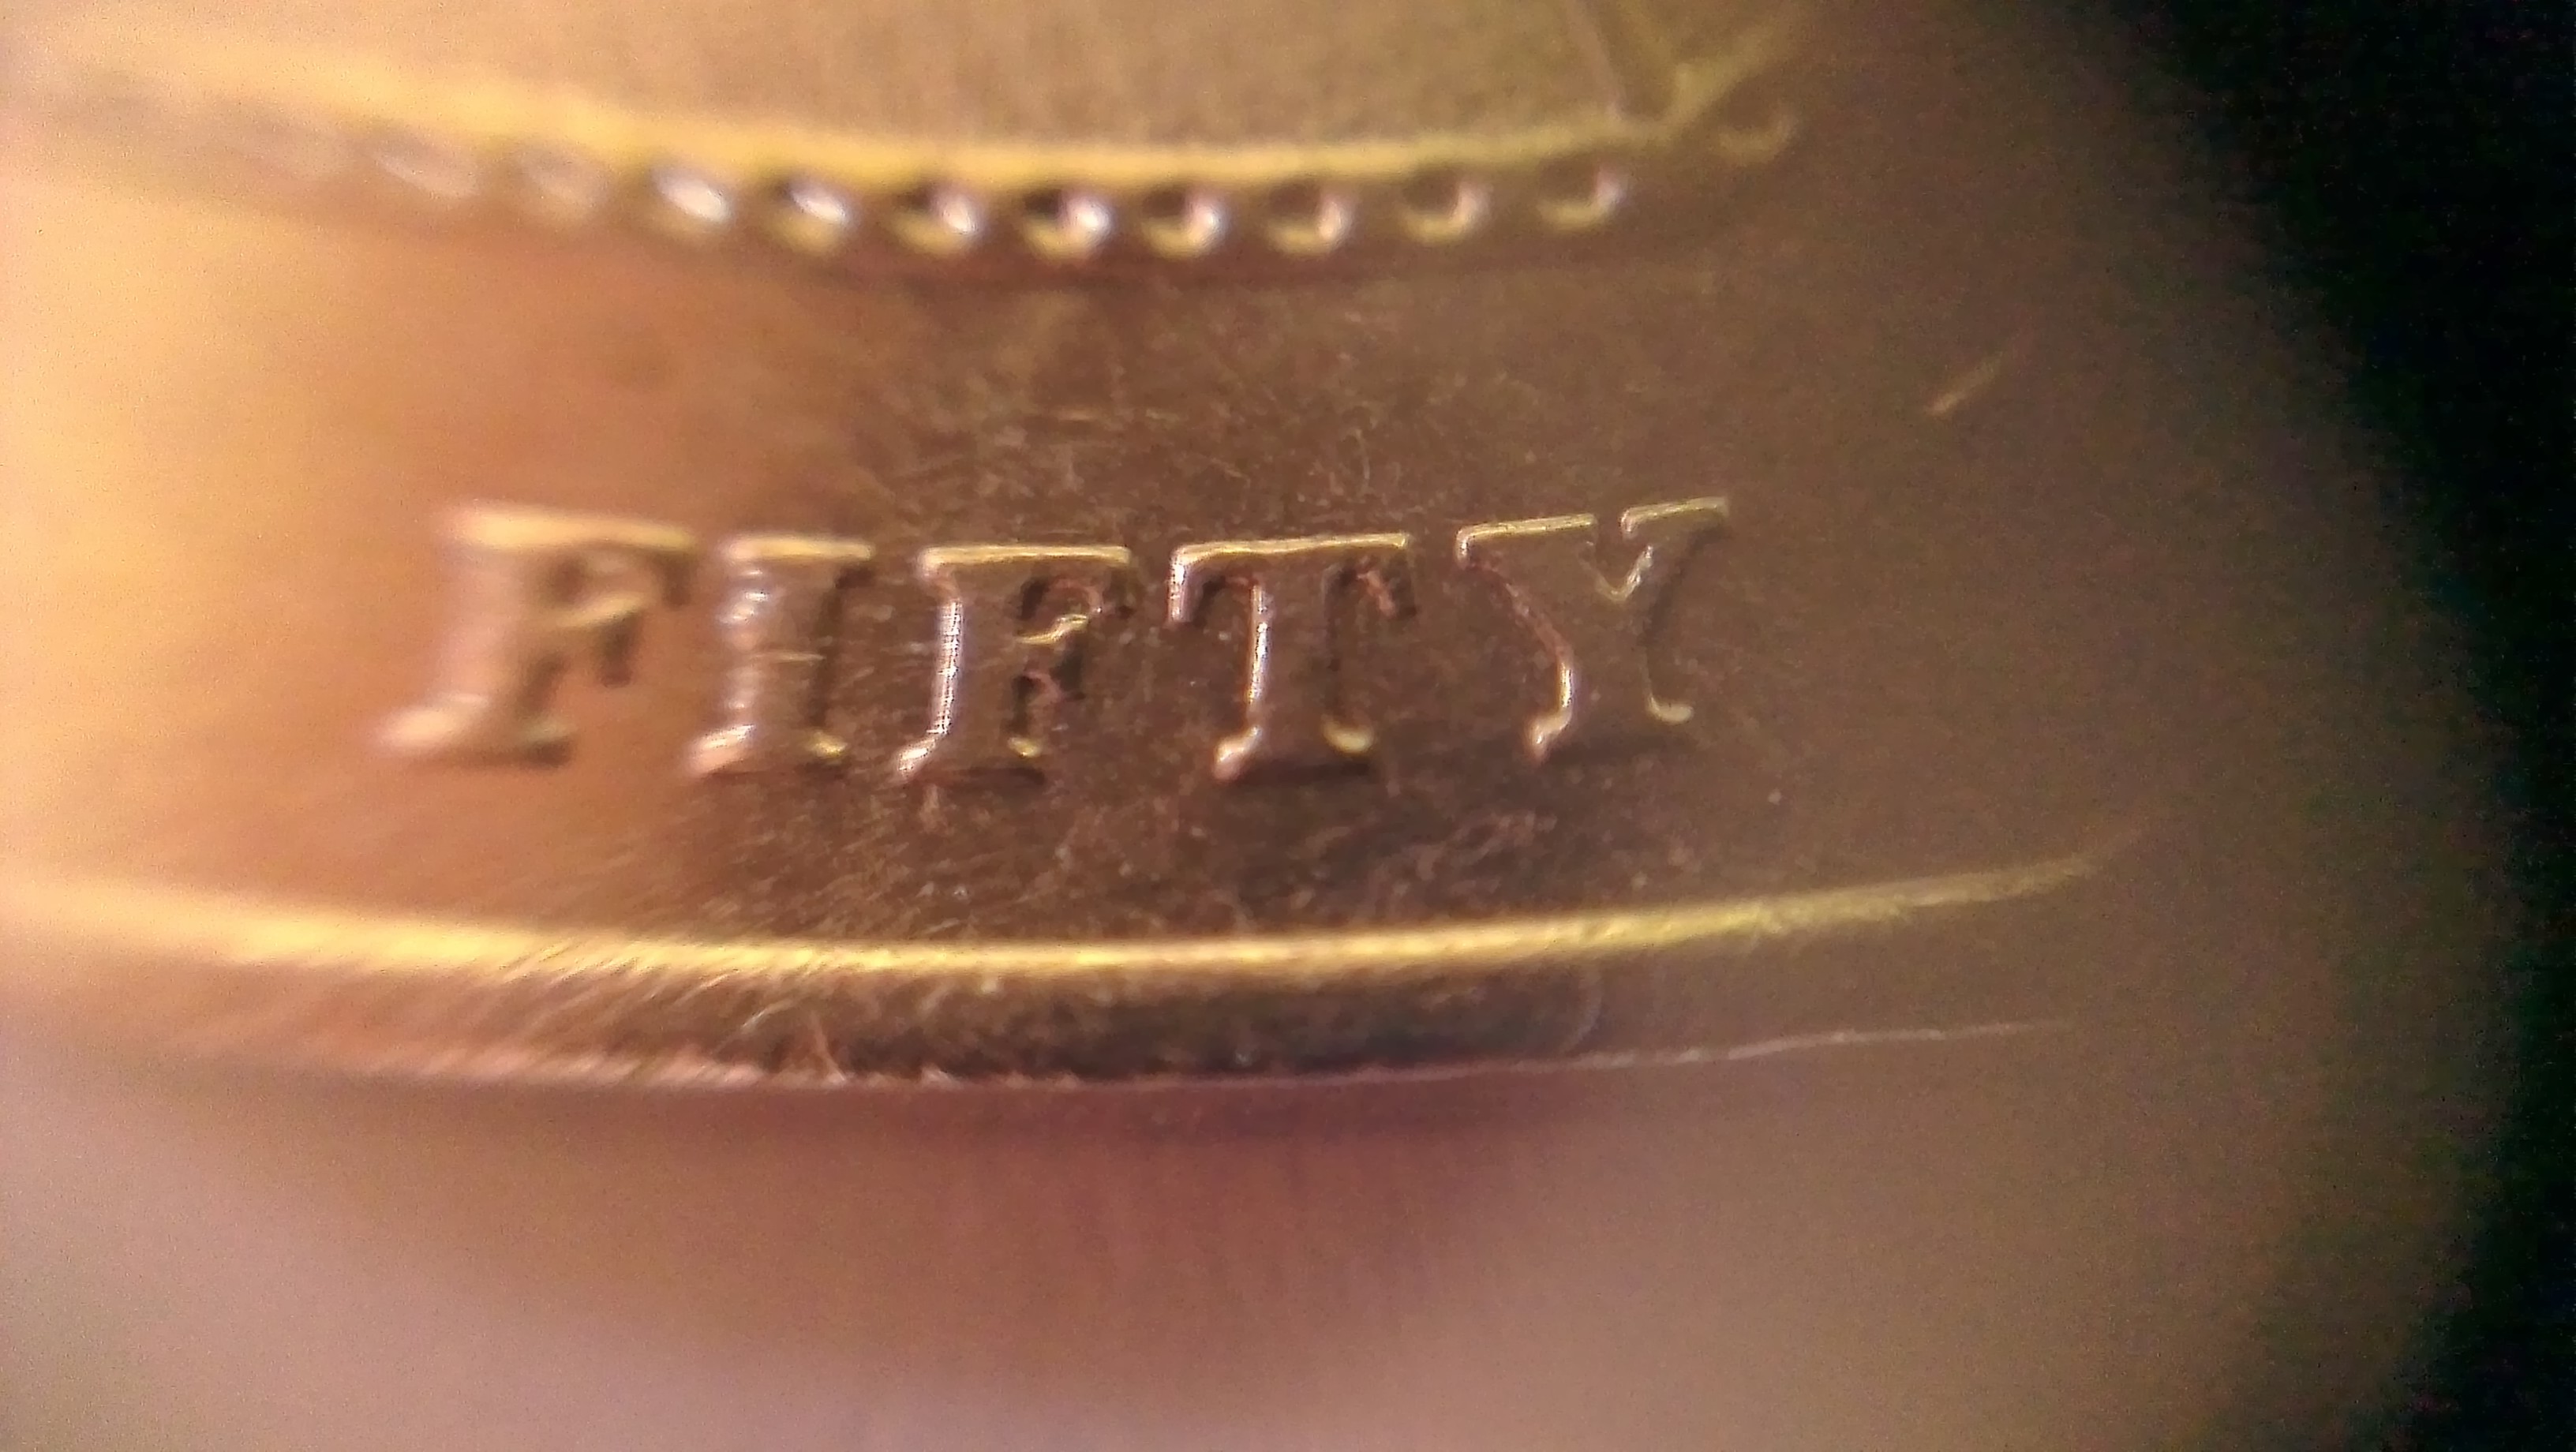
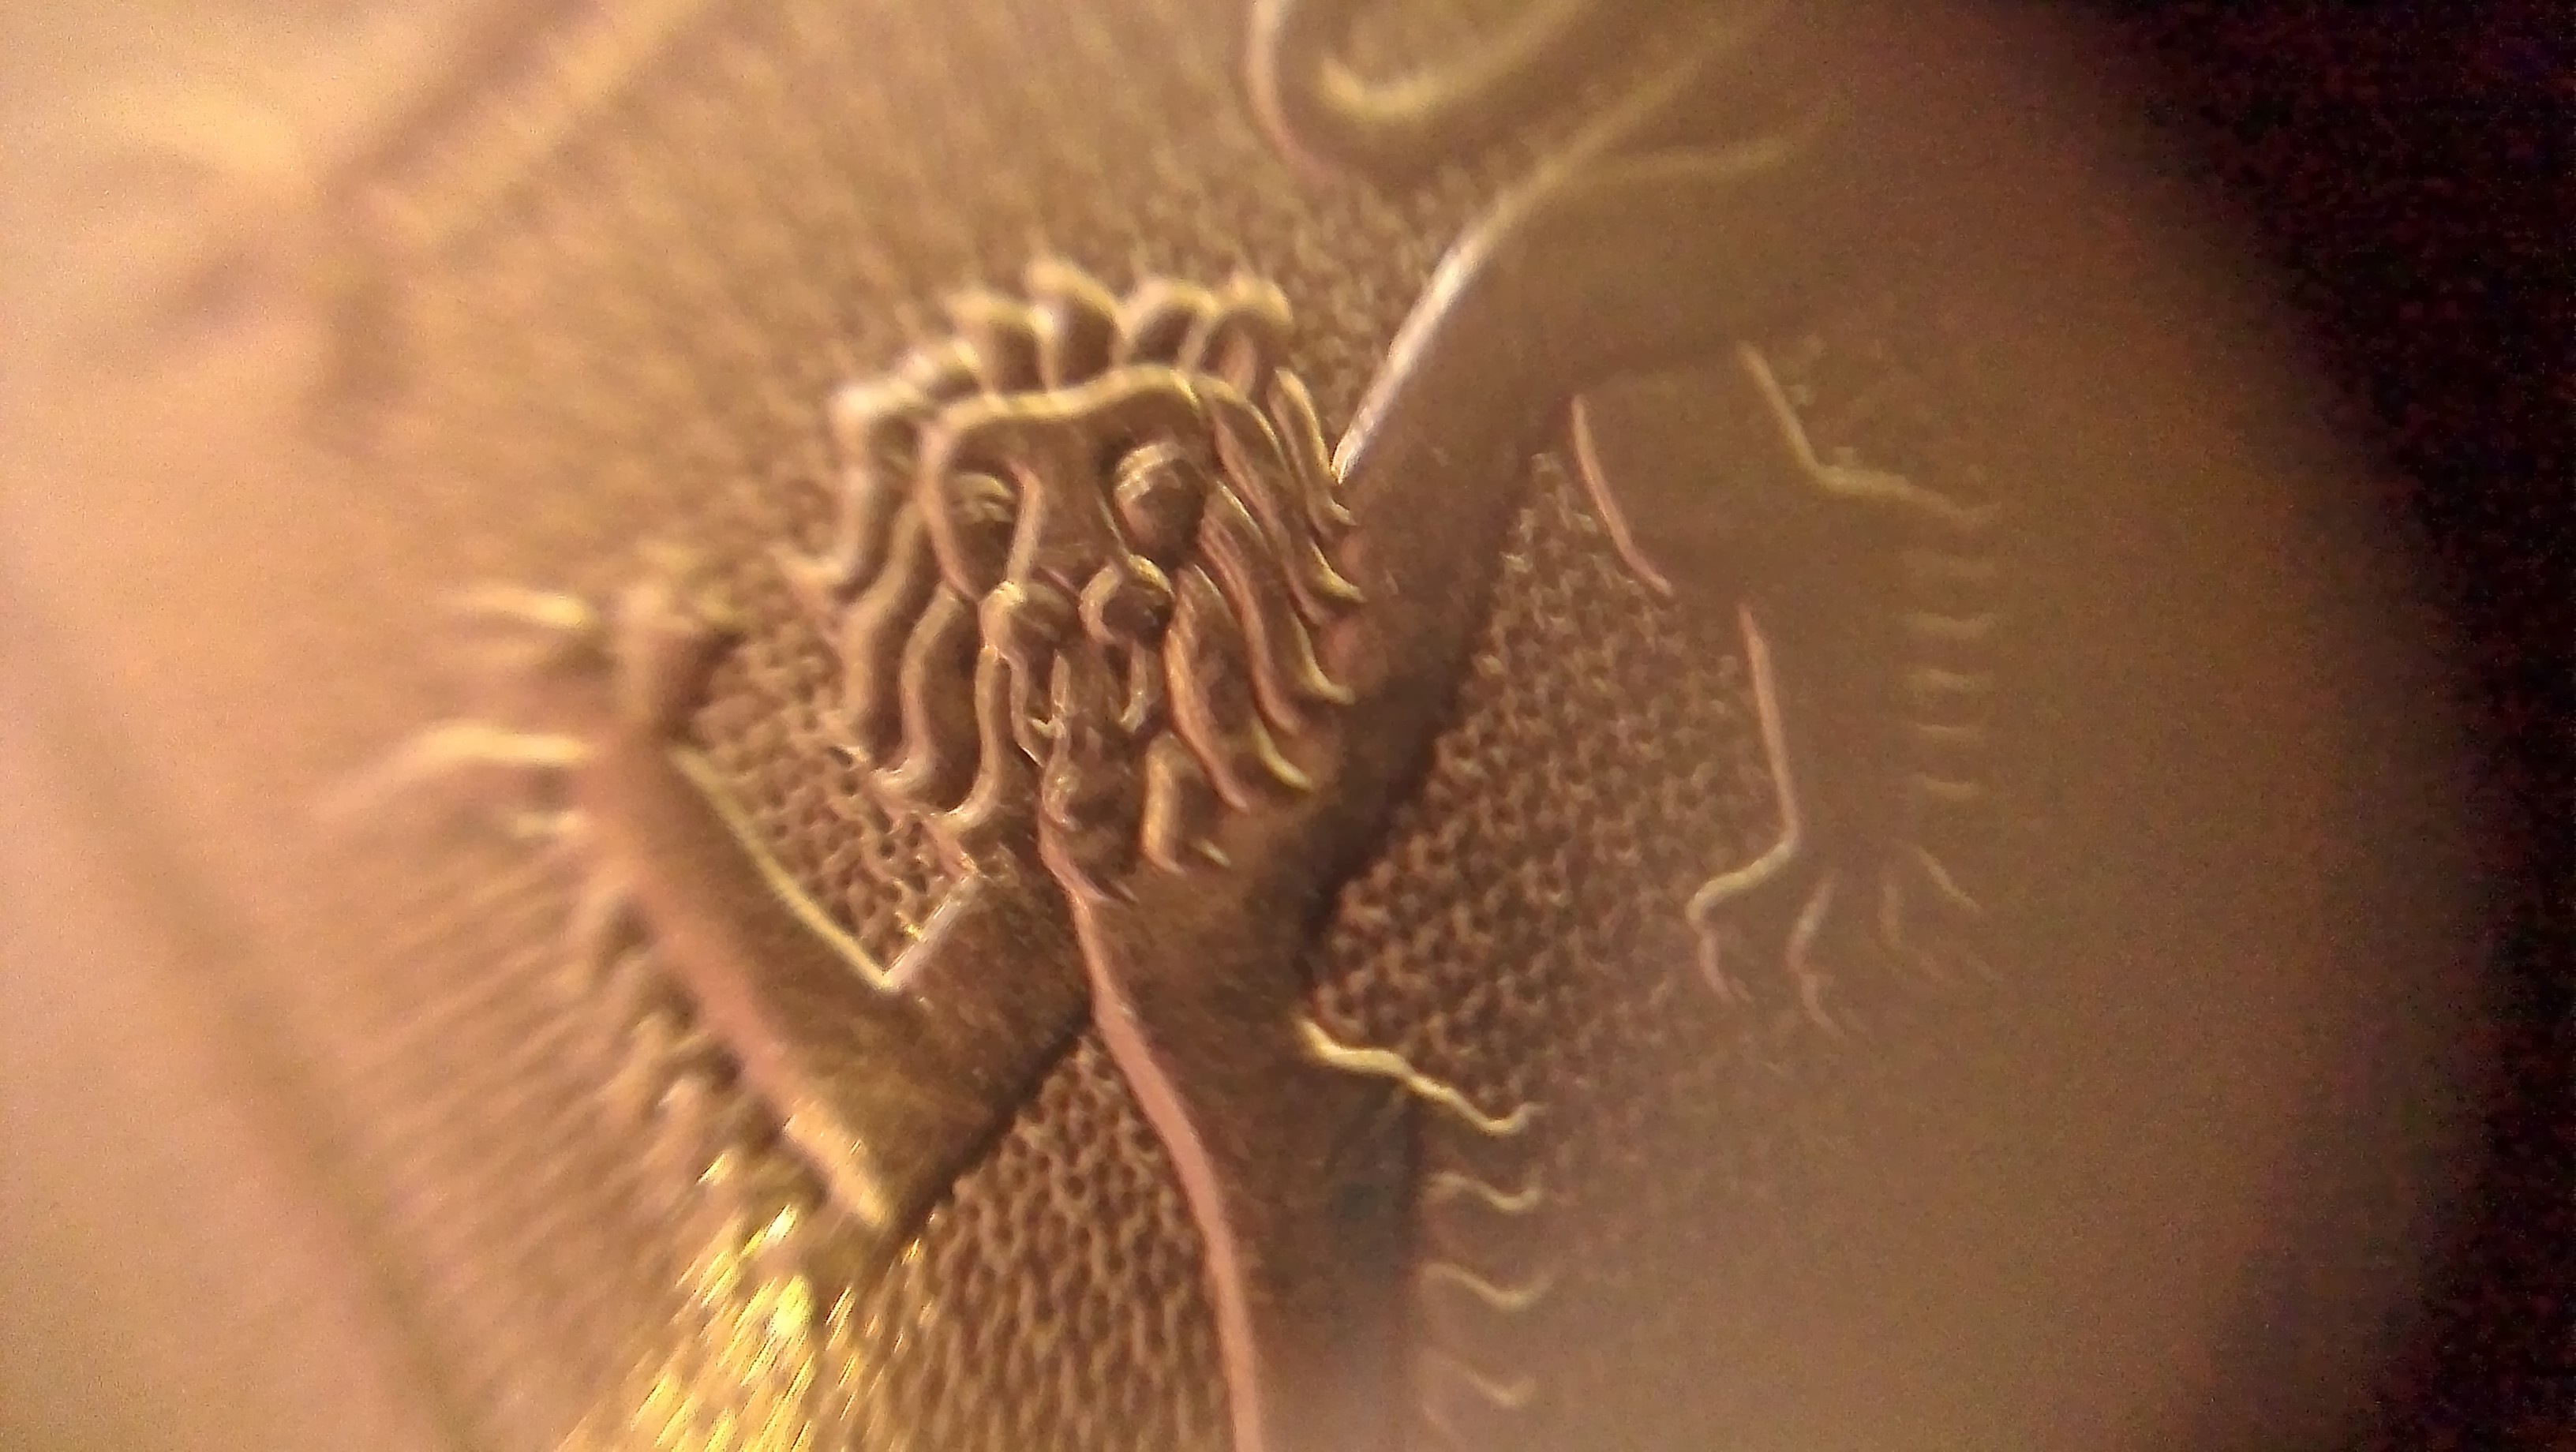
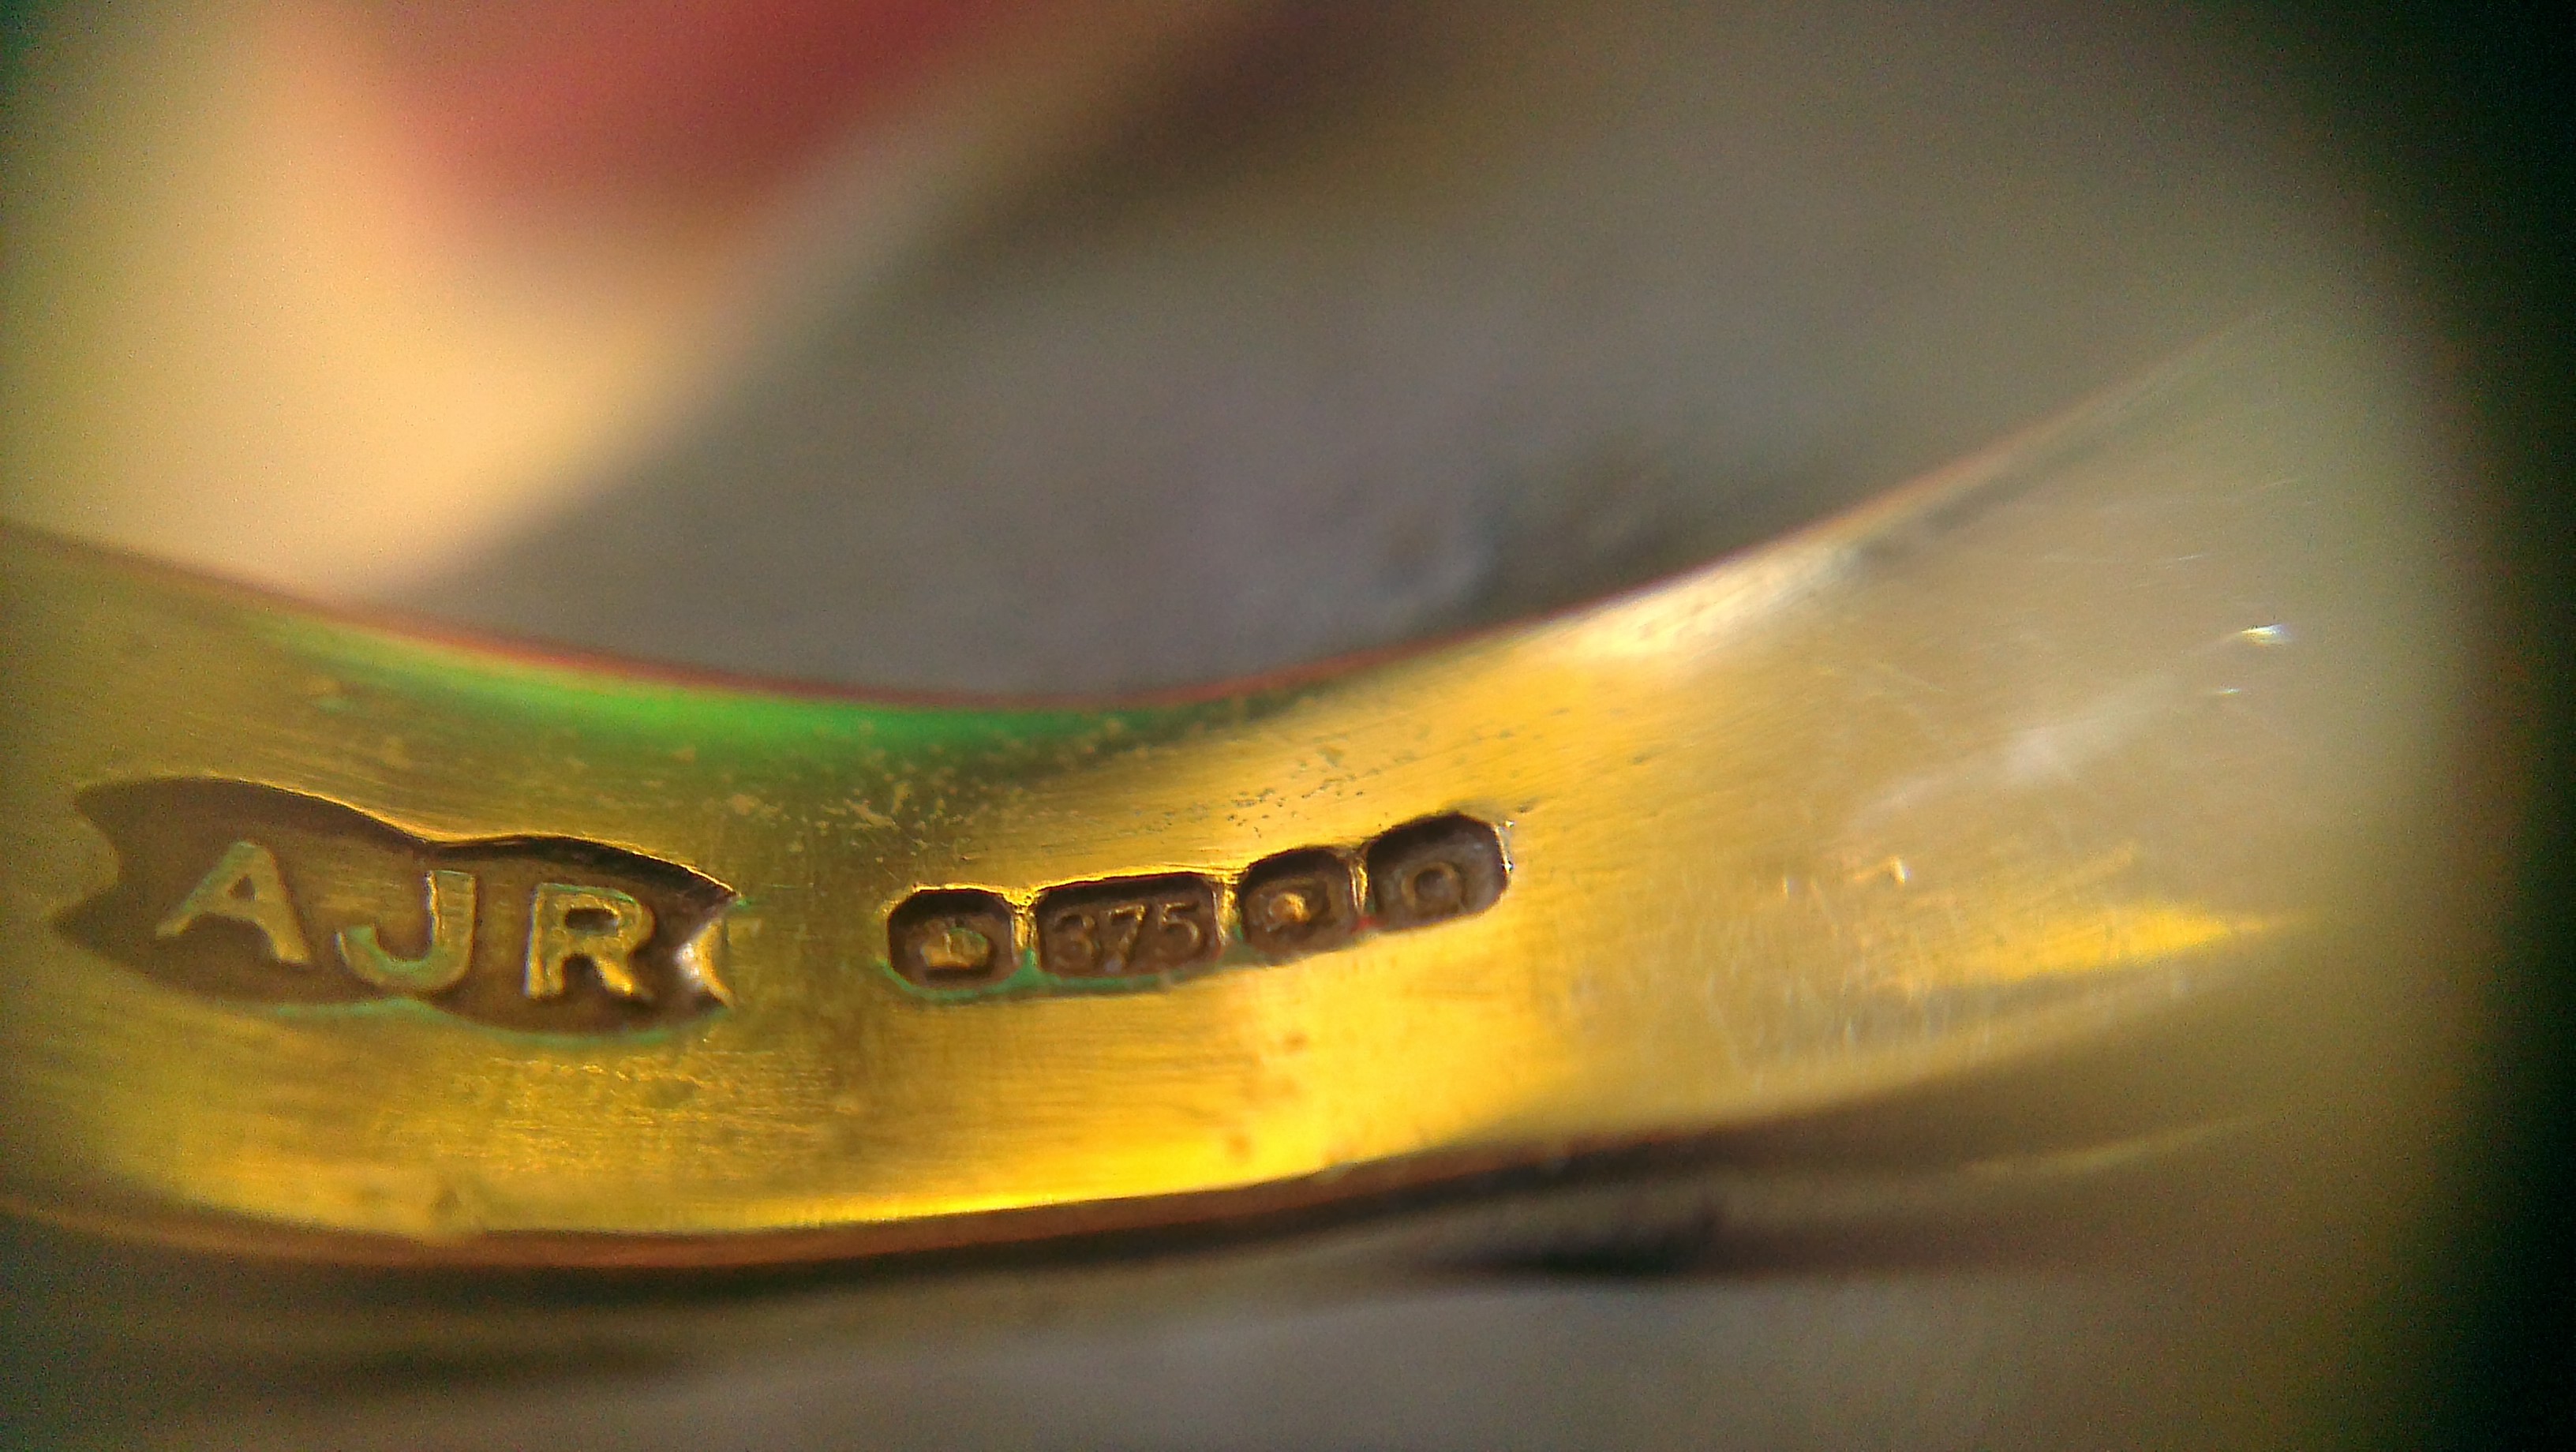
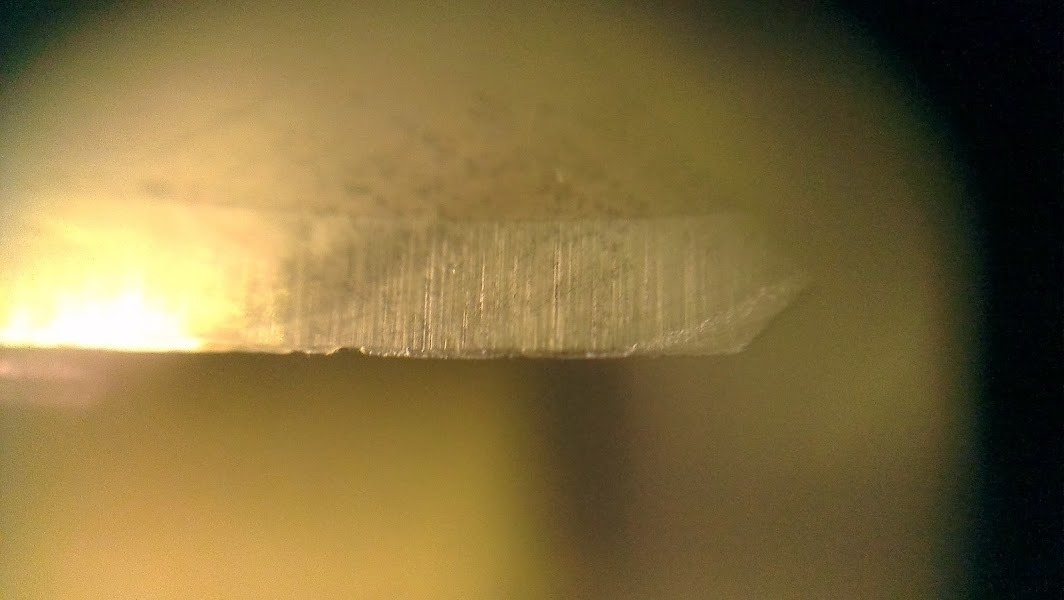
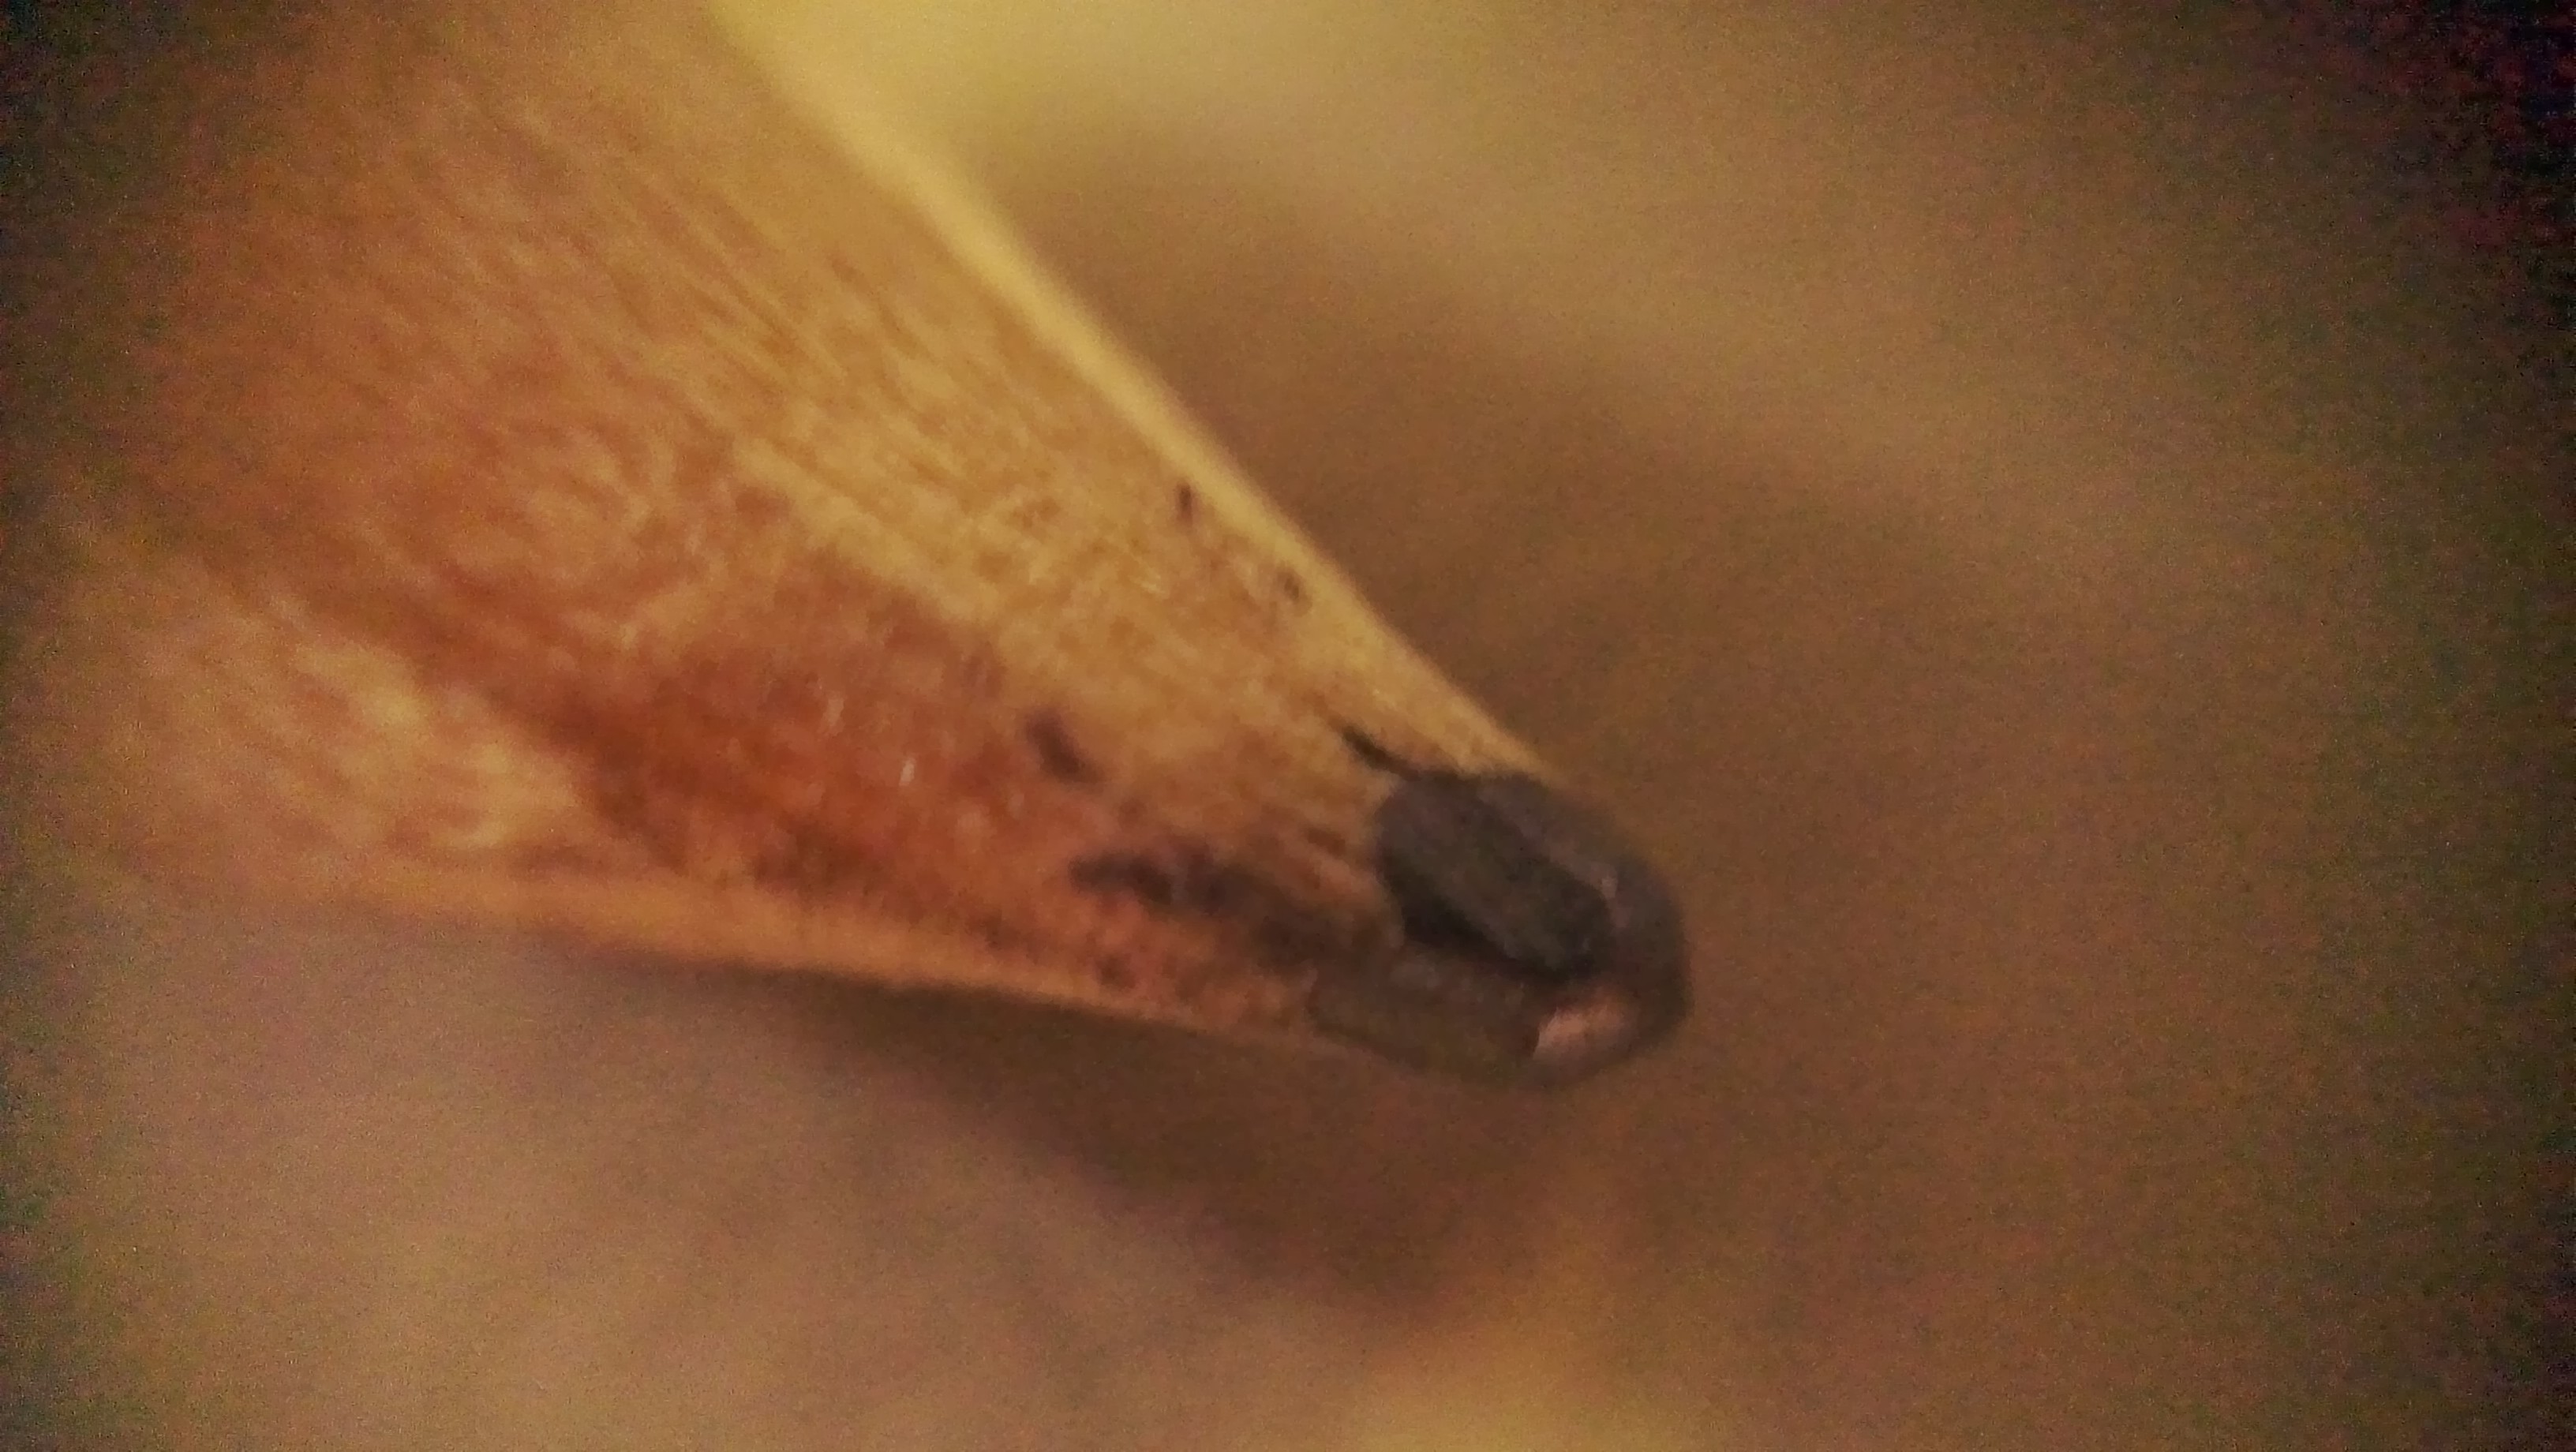
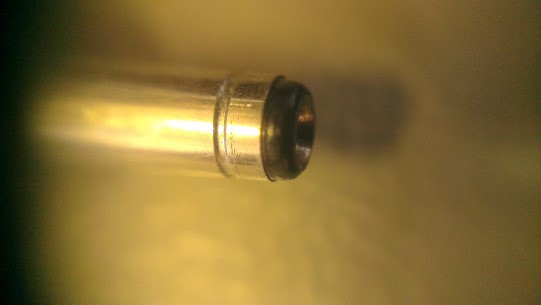
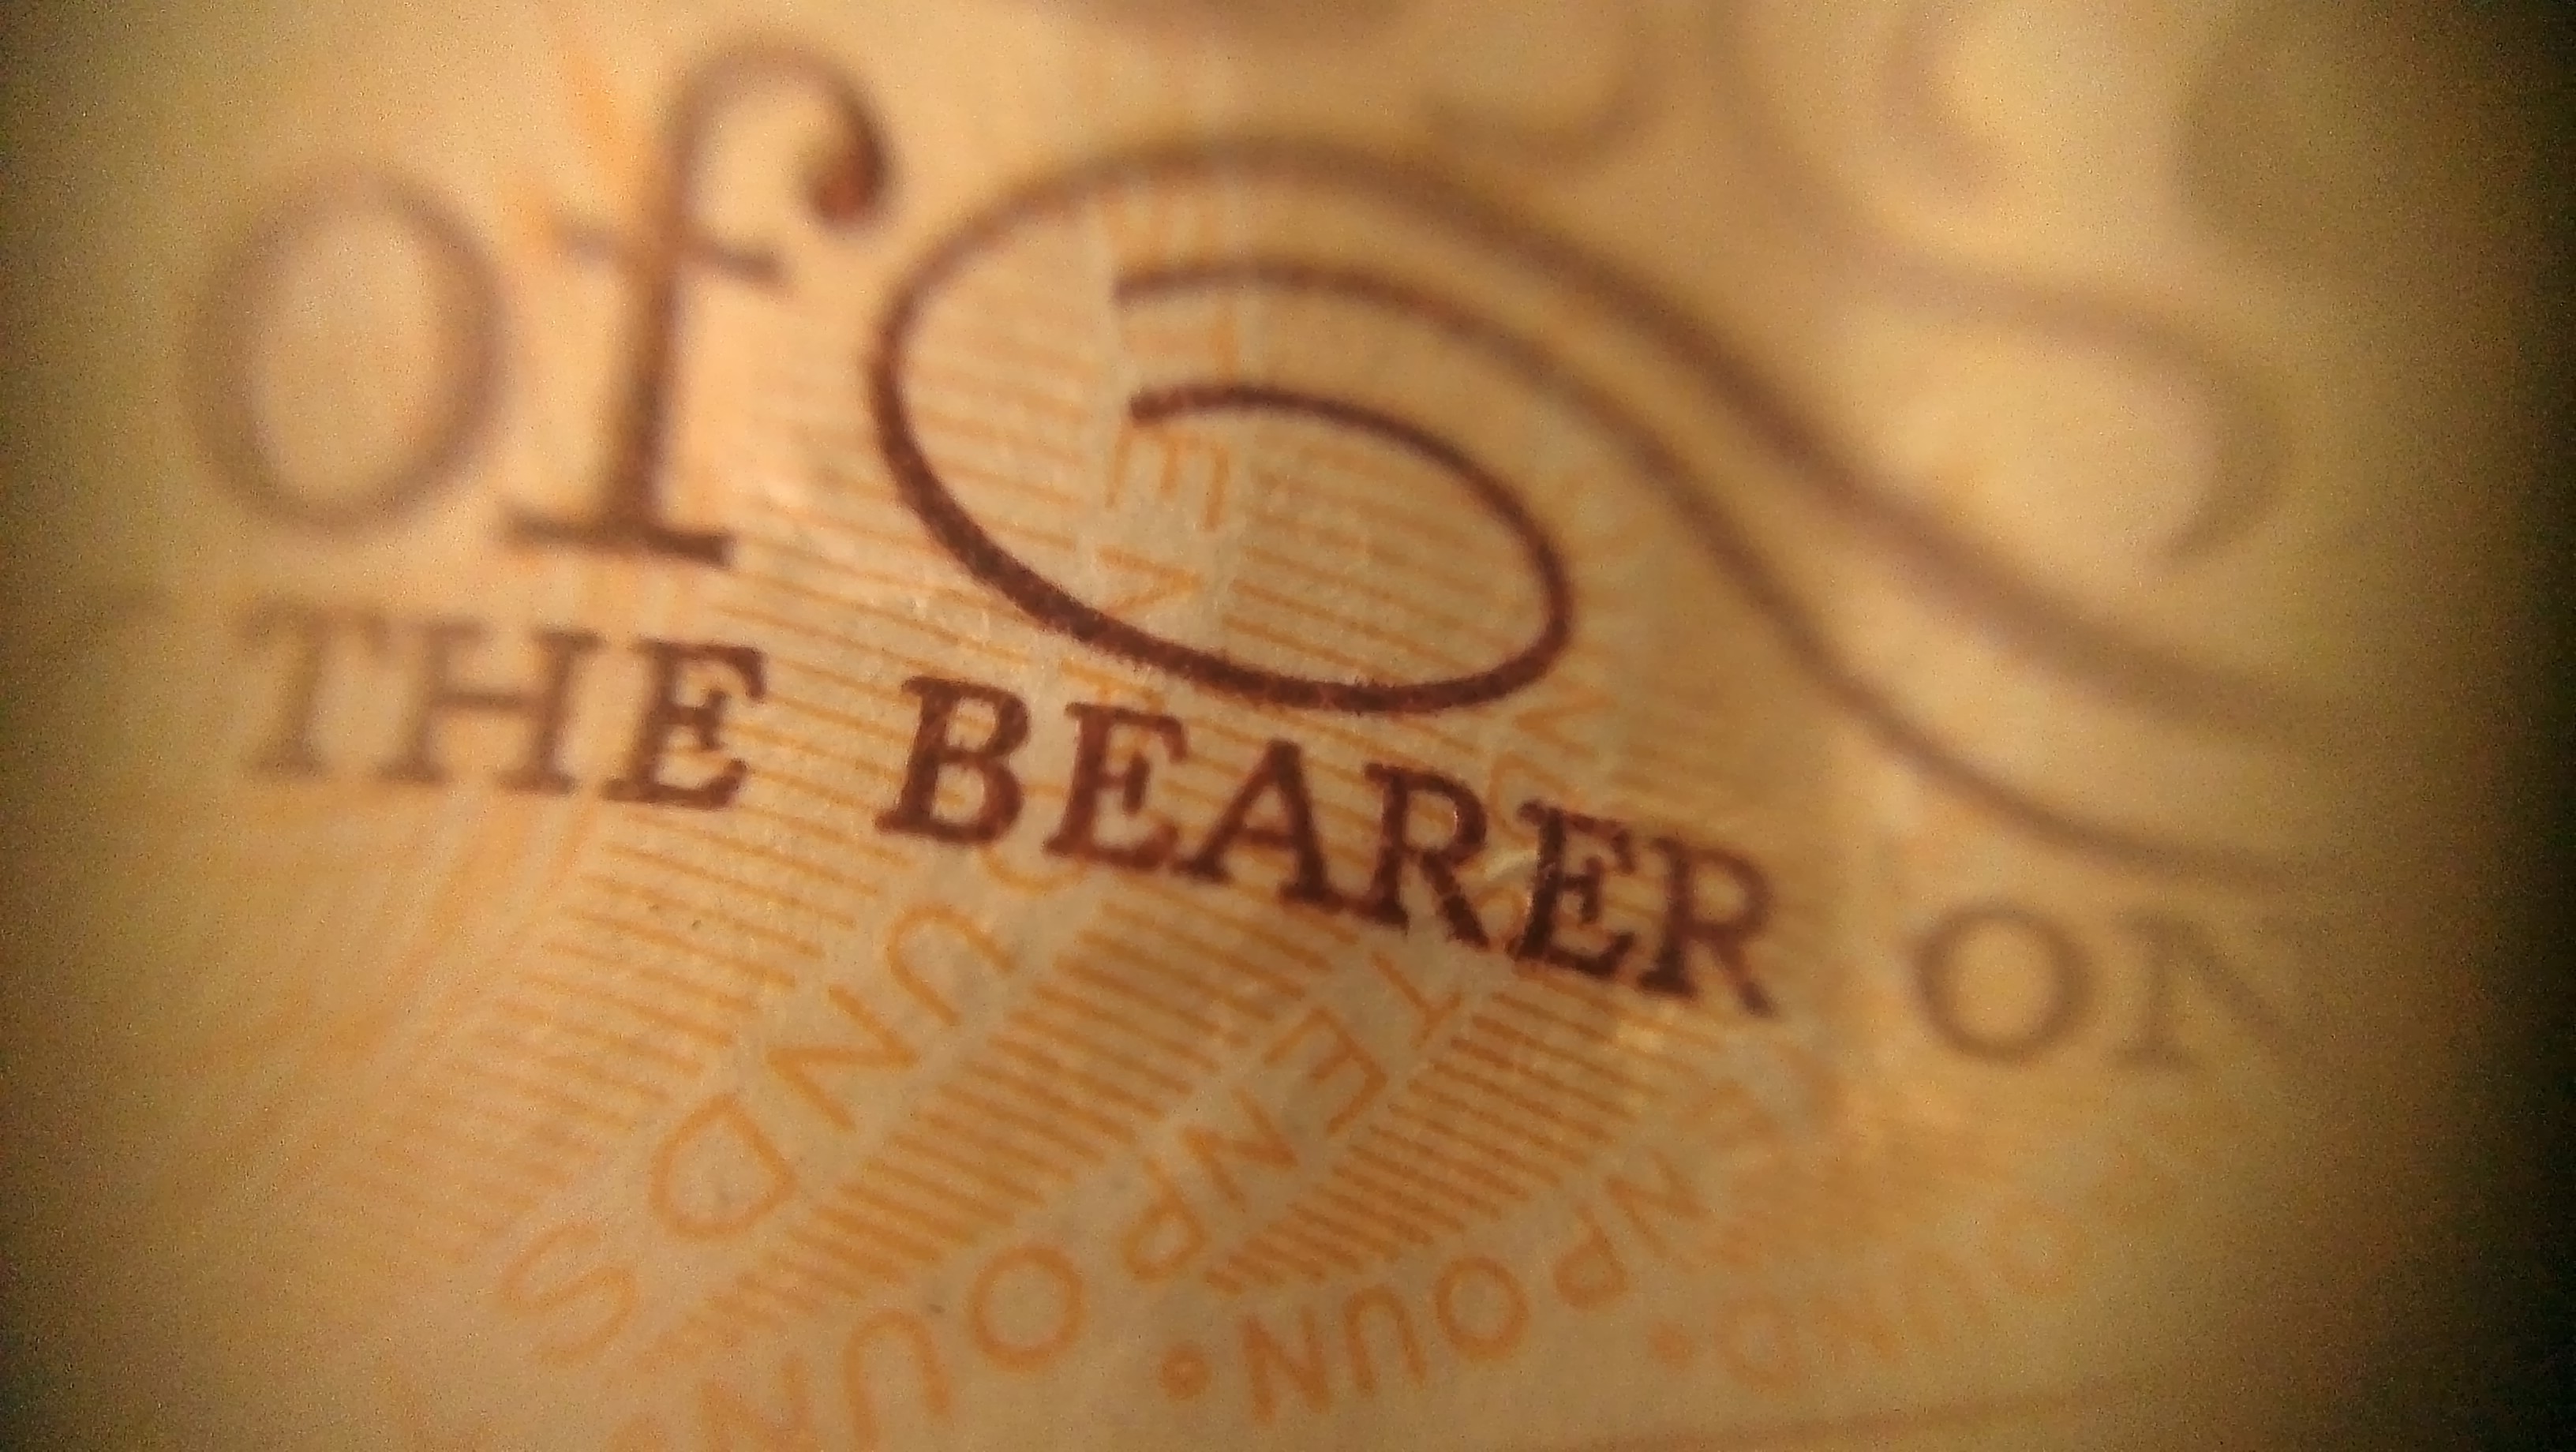
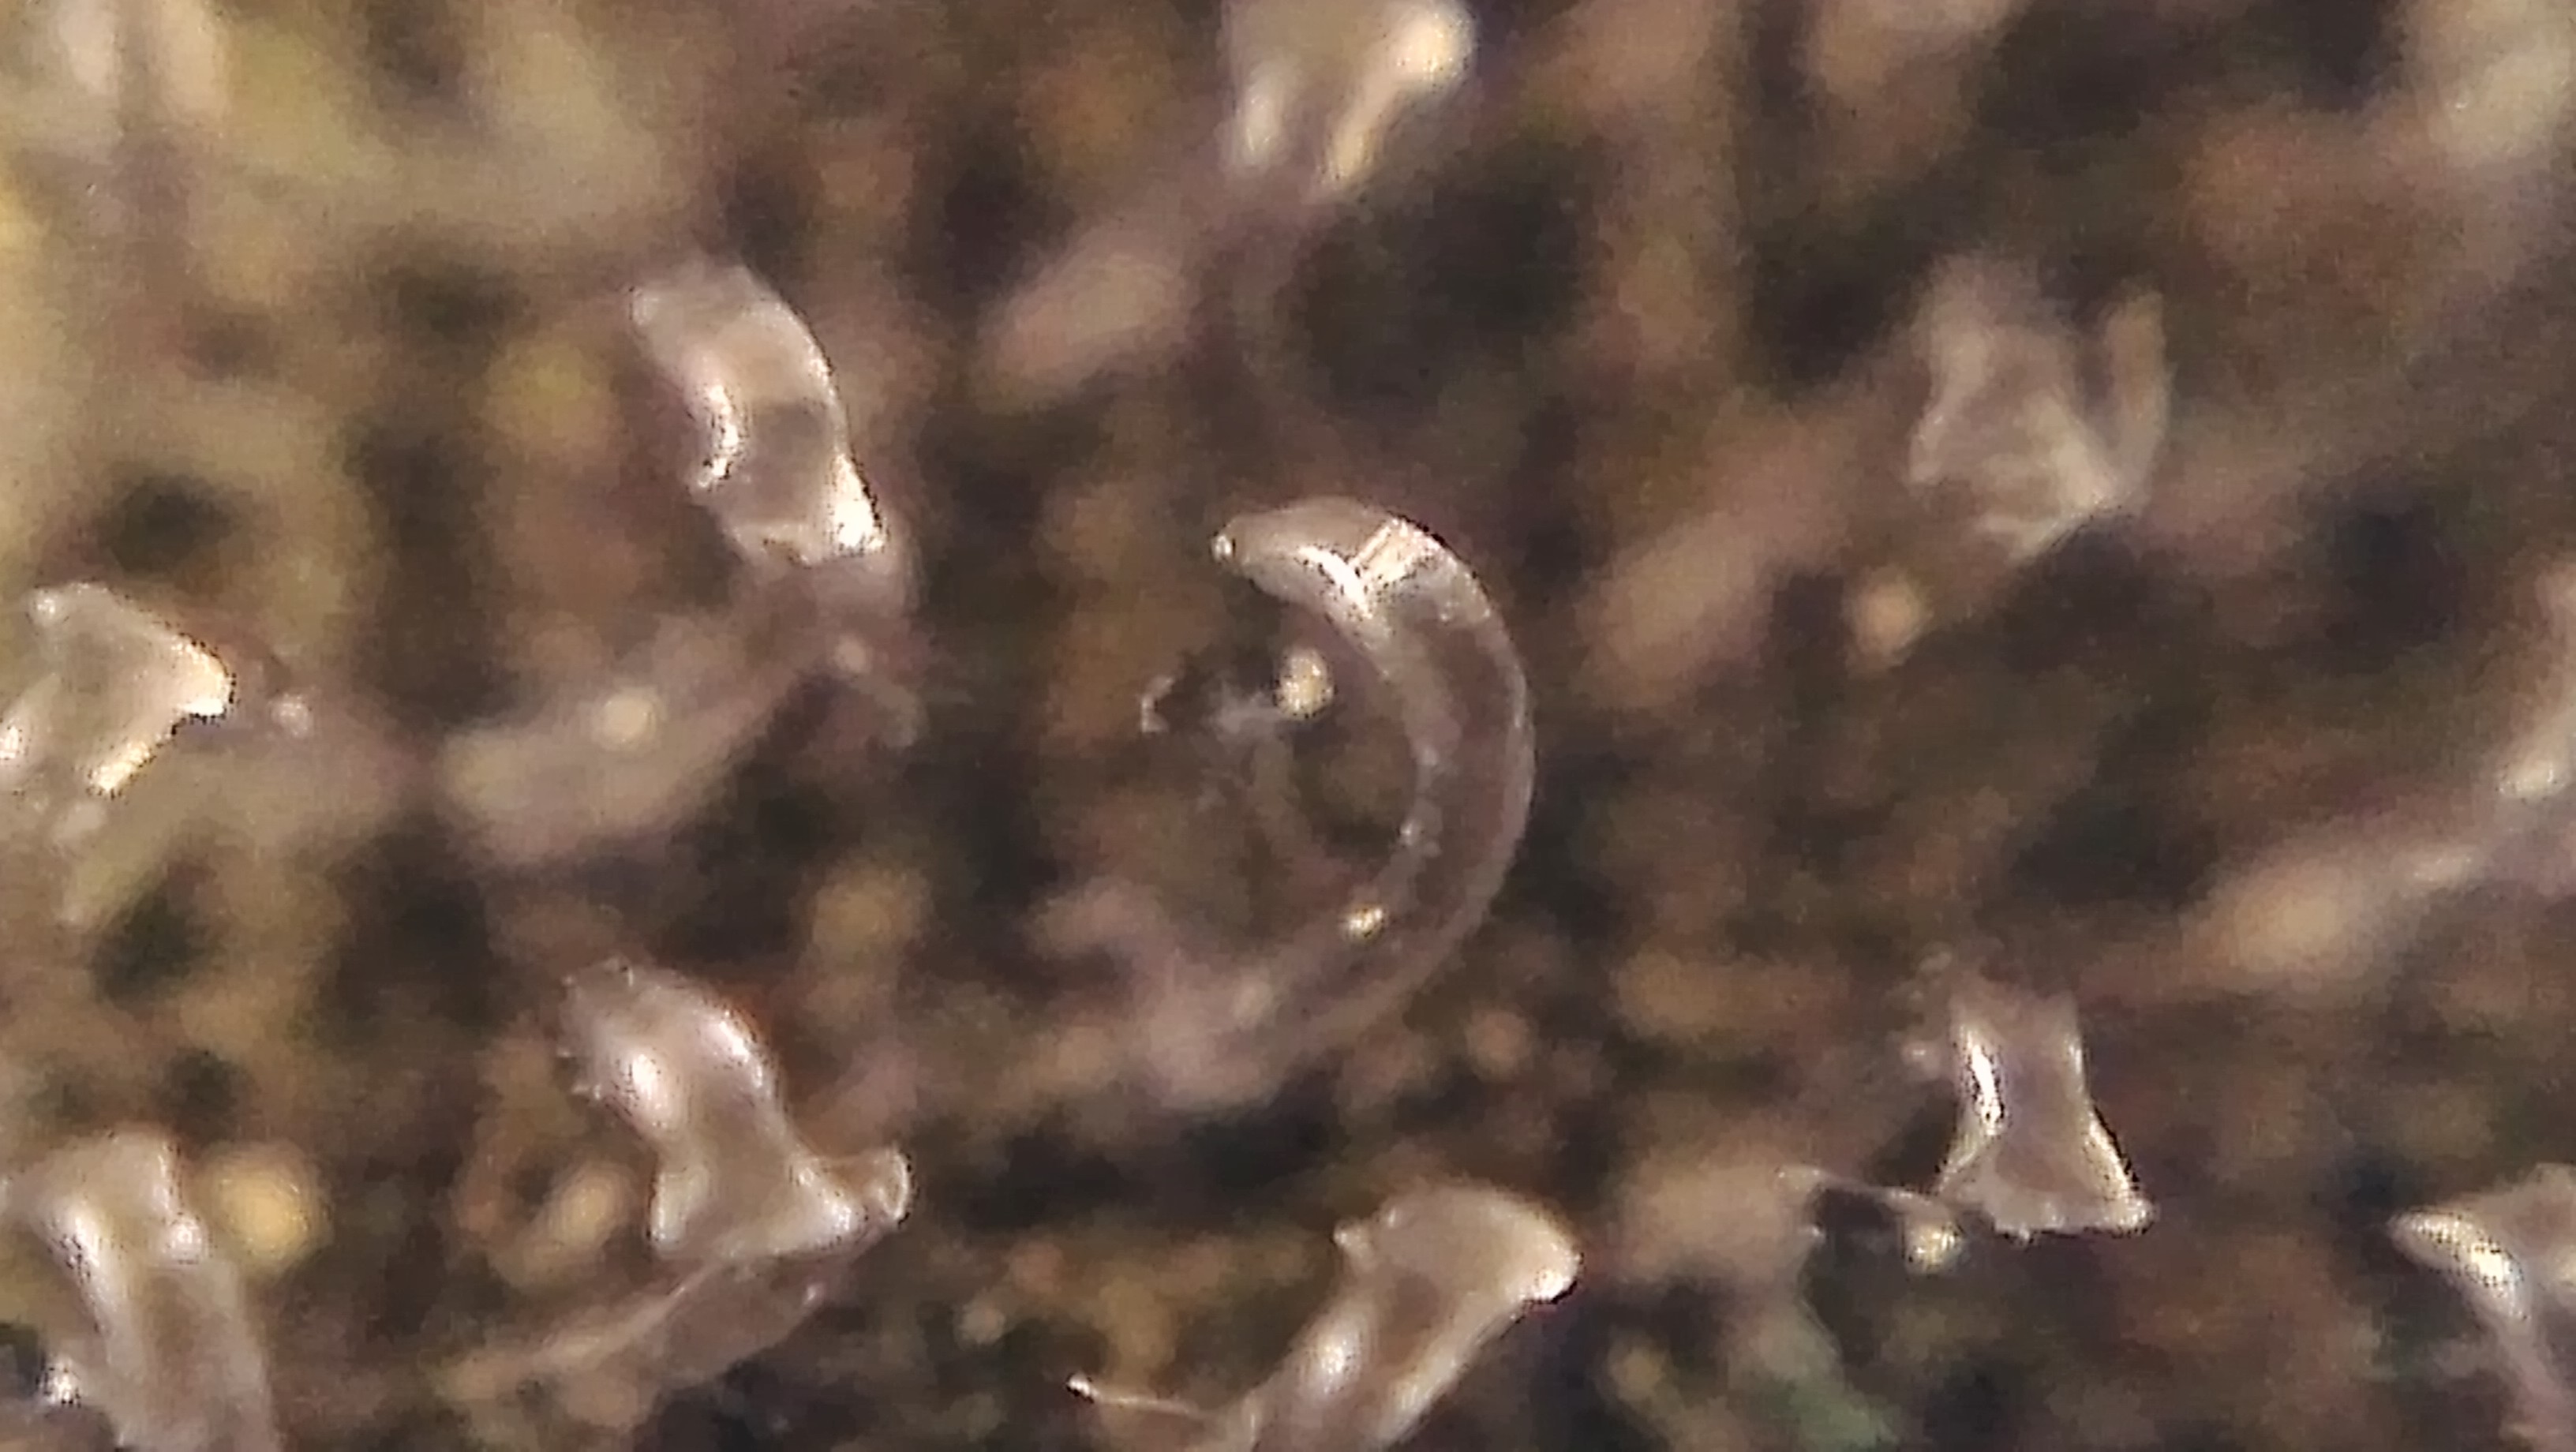
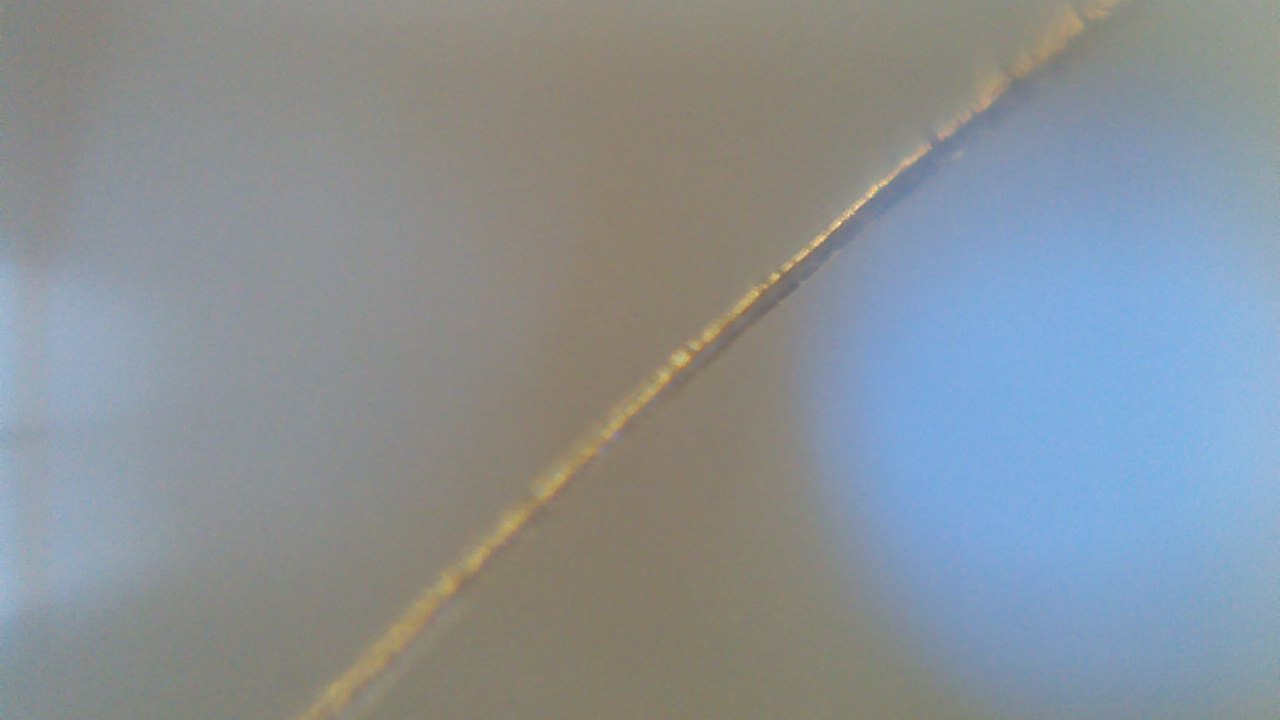
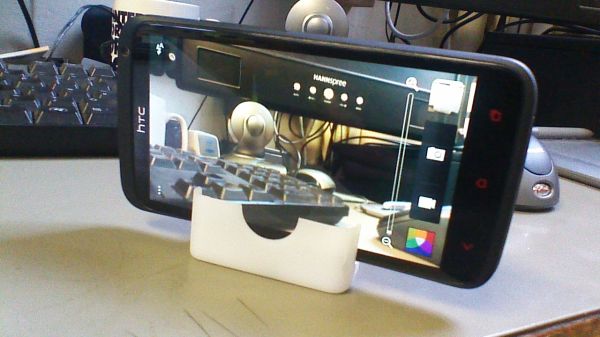
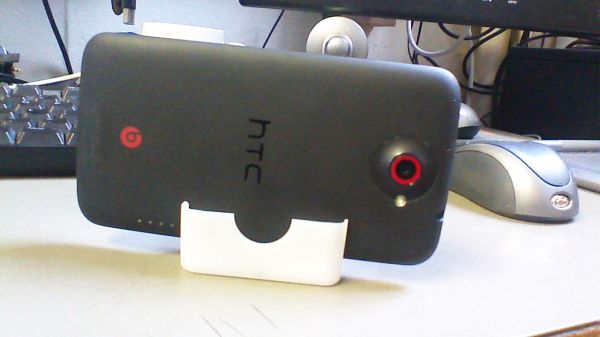
I found a plastic cup thingy (no idea what it was, you could try a strip of plastic or a screw cover), and drilled a hole to mount the lens.  It's not glued in, just an interference fit.  Might add a dot of superglue just to secure it.  Once I'd tested it by taping it in place, I needed a better solution for mounting to the phone.  Experiments with paperclips were fiddly and scratched the phone's case, so I went simple with elastic bands.  You can see the results in the pictures below.  The lens needs to be about 2-3mm from the object being photographed, and you'll need a steady hand to minutely adjust the height.

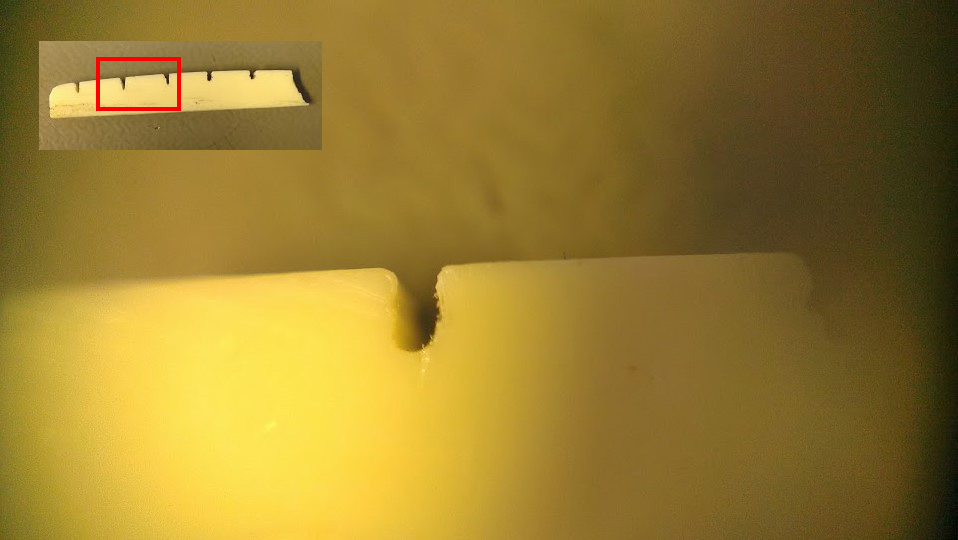
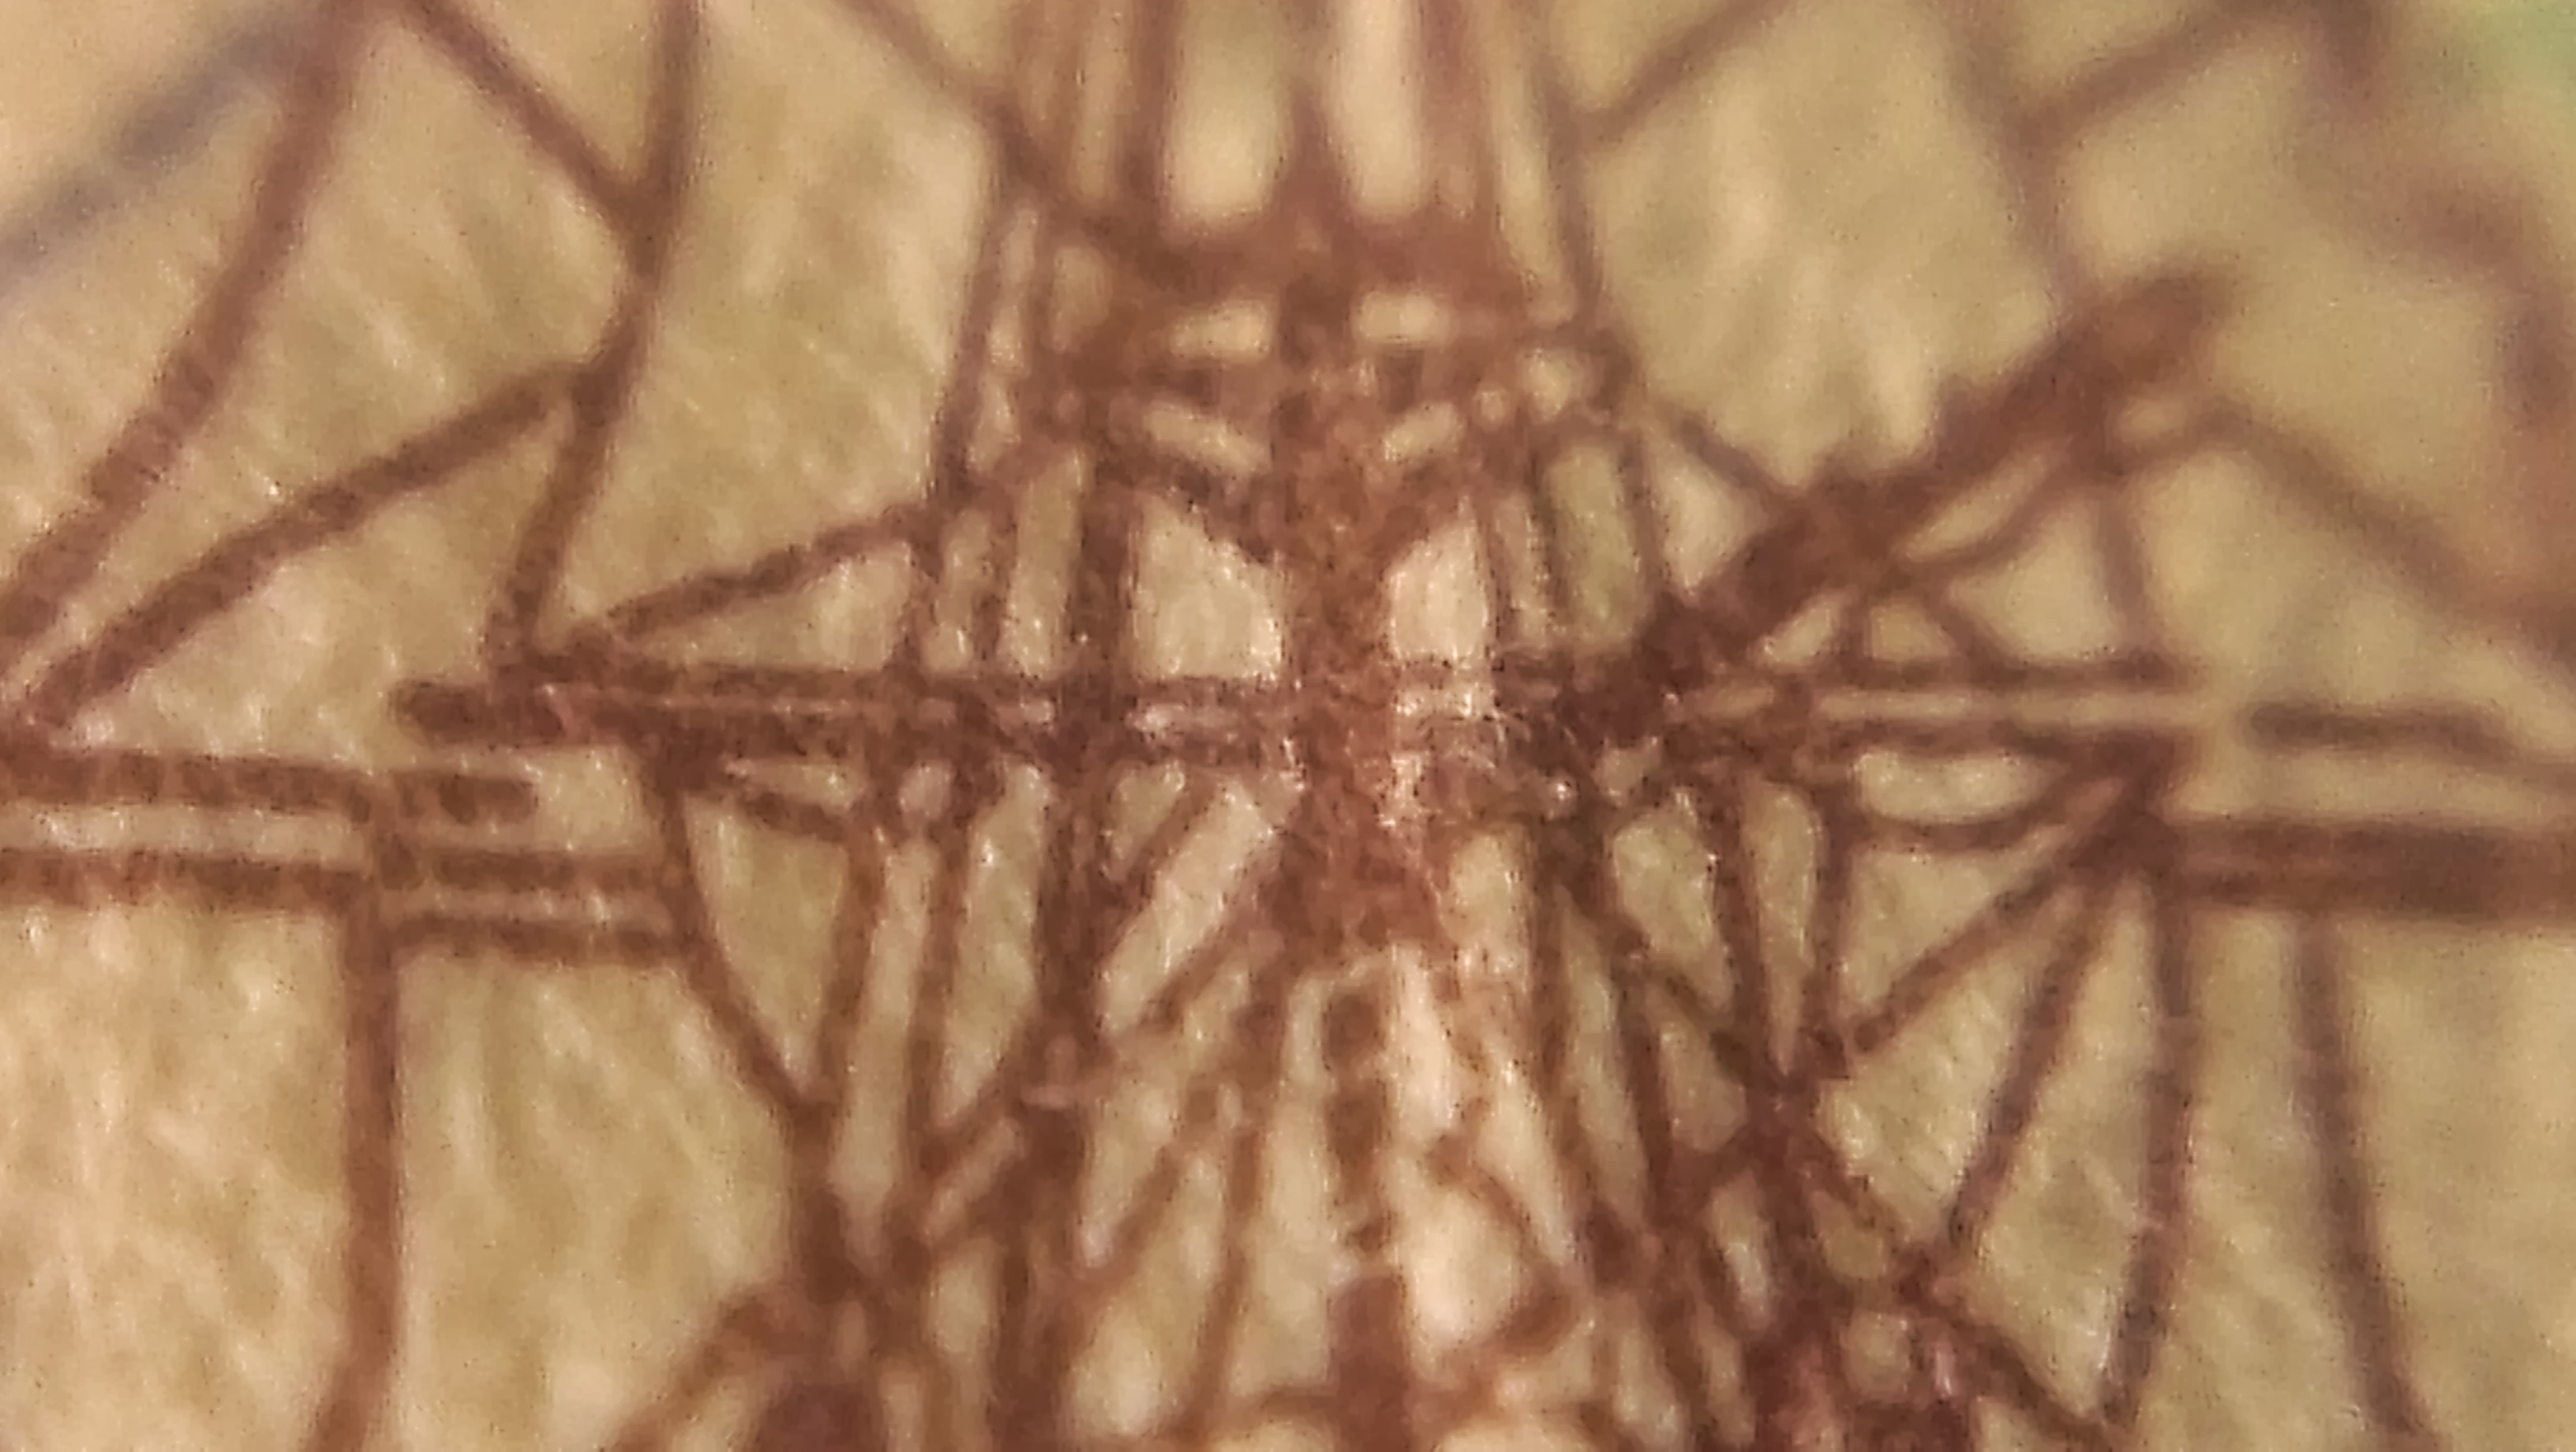
The other lens I taped to the front camera of my Surface, and initially thought it wasn't working, but the magnification is huge and the object needs to be really close.  Takes a steady hand and the focus is tricky to get right.  Possibly a bit fiddly for casual use!

lens mount lens in place on phone fifty pence 1 fifty pence 2 guitar nut hallmark knife blade pencil tip power connector ten pound note ship ten pound note velcro lens on Surface hair

Cardboard tablet or smartphone stand

Tuesday 25 February 2014 at 10:24 am

Now available in hand made carbon fibre from Jolly's Carbon click here

carbon stand

The latest in a series of home-made things to do with a tablet, I wanted to make a simple stand so my wife could use hers to show recipes/crochet patterns/whatever.  It started out as an inverted v-shaped bit of card slotted into 2 runners, it worked but was a bit clunky.

My work colleague, a technician by trade but an artist at heart, decided that it could be a lot more elegant with her triangle-based design.  So with Adobe Illustrator we knocked up the template you see here.  It was cut out of artists' mount board and as you can see is pretty sturdy - to the point where it will (just about) hold a heavy Microsoft Surface.  The tablet shown is a quite lightweight 7" Chinese job, so you'd need to scale it up for a full-size iPad.  If you want to have a go you can download the pdf here.

UPDATE - my work has a CNC machine which can cut plastics, so I sent them my design.  It's 3mm hard plastic, so the fold needed to be made with a hotwire.  This limits portability, so stay tuned for a new version in 2 parts with an interlocking system!

tablet0 tablet1 tablet2 tablet3 tablet4 tablet5 tablet6 tablet7

Also in this series:
Tablet case made of a book
In-Car headrest mount made of a DVD case 

Simple tripod mount for smartphone

Wednesday 06 November 2013 at 08:50 am

I found I wanted to mount my smartphone to a tripod base to try some time-lapse photography (as you do).  There are some nice ones out there to buy, but I needed it there & then.  So I found an old plastic thing - I don't even know where it came from, but I could have used anything similar, like a bottle cap for example.  Obviously it needs to be deep enough to give some support.  I cut 2 slots in the sides.

I had previously taken apart an old broken camera and kept the tripod mount doohickey, so I cut a square hole and glued it in.  I guess you could use a nut of the correct thread size & pitch (sorry, don't know what that is).

So now my phone sits nicely in either aspect on top of its tripod.  If I need more security I just add an elastic band!

IMAG0549 IMAG0550 IMAG0551 picture022 picture023 picture024 (2)

Android "Avoided Poor Internet Connection" Error

Saturday 14 September 2013 at 5:55 pm

Here's another 'I Googled this problem and found another solution' post.  

My wife's phone (HTC Desire X, running ICS) refused to connect to the home WiFi, and in the settings the "Avoided Poor Internet Connection" message repeatedly appeared.  Changing to a static IP address fixed it for a short time, but it came back.

A bit of research seemed to indicate this is quite common on Android devices, but the solution involves having root access.  I'm quite happy to attempt rooting my own devices, but don't really like mucking about with others', so I found myself reasoning thus:  the accepted solution is deleting files in a system folder, which must store information about the wireless connection, like its SSID.  So if the SSID is changed, the error might go away.  And it did.

So the short solution (for me) was to change the router's SSID (WiFi name) and we're all working again.  Obviously it's a pain to reconnect every wireless device in the house, but worth the effort.  I've also fixed the IP address which with a bit of luck will help stop it happening again.  The problem I think stemmed from my router starting to fail, and a new router is connecting efficiently now.

Hot Cold Ground rewrite Route 66 with a local flavour

Thursday 29 August 2013 at 10:01 pm

My blues band Hot Cold Ground love to do 12-bar blues standards like this one, but we decided there were too many songs about places in America and thought we'd re-write the lyrics.  Originally it was 'Route M6' but that wasn't local enough, so what we have here is the A146, which runs between Norwich in Norfolk and Lowestoft in Suffolk.  Obviously if you know the area it's funnier.  Feel free to share it with your friends.

Visit this page on YouTube.

Youtube video "A5MjcOmUDcE".

Technical info for geeks - filmed on a Fuji S200EXR and a Casio EX-FS10 at a ridiculously low resolution.  It was all filmed on the actual A146 in August 2013.  The aerial views are from Google Earth (filmed with a camera in front of my screen as I don't want to buy Pro!)  Edited in Adobe Premiere Pro CS6.

How to get 6 plectrums on one card - Pickmaster

Monday 10 June 2013 at 4:15 pm

I recently bought a Pickmaster plectrum punch which is a great way of making your own free plectrums from unused plastic cards, and if (like me) you have access to a card printer, it can be used to make promotional plectrums for your band!

I experimented with the number of cards which can be punched from a single card, and got to a maximum of about 4 or 5 without too much trouble.  However, if you're prepared to do a bit of extra cutting it's possible to make 6.  Here's how.

Using this template on a standard sized card, cut it up into 6 pieces with sharp scissors:

Putting the pointy end of each piece into the Pickmaster, carefully line up the edges through the aperture,  to avoid flat bits, and punch it out:

plectrum-6up IMAG0353 IMAG0354 IMAG0355 IMAG0356

I've made a couple of very minor mods to my Pickmaster - a velcro tie to keep it shut, and a handy file (I think it was a knife-sharpener from the pound shop) to neaten up any slight rough edges.  I notice the new Pickmasters have a bit of sandpaper glued to them in the same place, so I'd like to think I inspired that!

If you're into guitars (and you must be to be reading this), then have a look at my band's website -
Hot Cold Ground Blues Band.

Tablet Car Headrest Case

Tuesday 04 June 2013 at 8:40 pm

Regular viewers may remember my tablet case made out of a book, and you'll know I like to make stuff out of things I already have laying around.

I wanted a holder for my cheapy 7" tablet so that my daughter could watch her cartoons in the back of the car on long journeys.  Yeah I know you can buy a portable DVD player for not much, but we don't do long trips that often, and why spend when you can bodge?

So what we have here is a standard DVD case, I cut away a screen-sized aperture in the back (where the DVD would normally sit), and generally cleaned it up and made it fit.  I added velcro closures on the sides, a small bit of foam inside one edge for a snug fit, and a fabric mat (the stuff you get in between keyboard & screen in the packaging of a new laptop) to prevent the back from getting scratched.  I used velcro ties from an old server, threaded through grooves melted into the case with a soldering iron.

Also added are a couple of cutouts for charger and headphones, and (not shown) a small finger hole so the power button can be pressed in the case.

It's not perfect, but still very much functional and cost nothing.

IMAG0346 IMAG0347 IMAG0348 IMAG0349 IMAG0350

Update - made a few changes:  gaffer tape to neaten up the top & bottom and cover up gaps, a small hole to access the power button (circled), and more sturdy fixings for the velcro closures (also circled).  As the hot-glue doesn't stick to smooth plastic very well it started to come away, I basically made plastic rivets.  I melted a hole through velcro and case, then found a straw from an air duster (you could also use a WD40 straw.  Using the soldering iron, I melted the straw into a mushroom-shaped end, passed it through the hole, trimmed it off and melted the other end flat inside.  

Shure SM58 microphone repair

Tuesday 04 December 2012 at 10:53 am